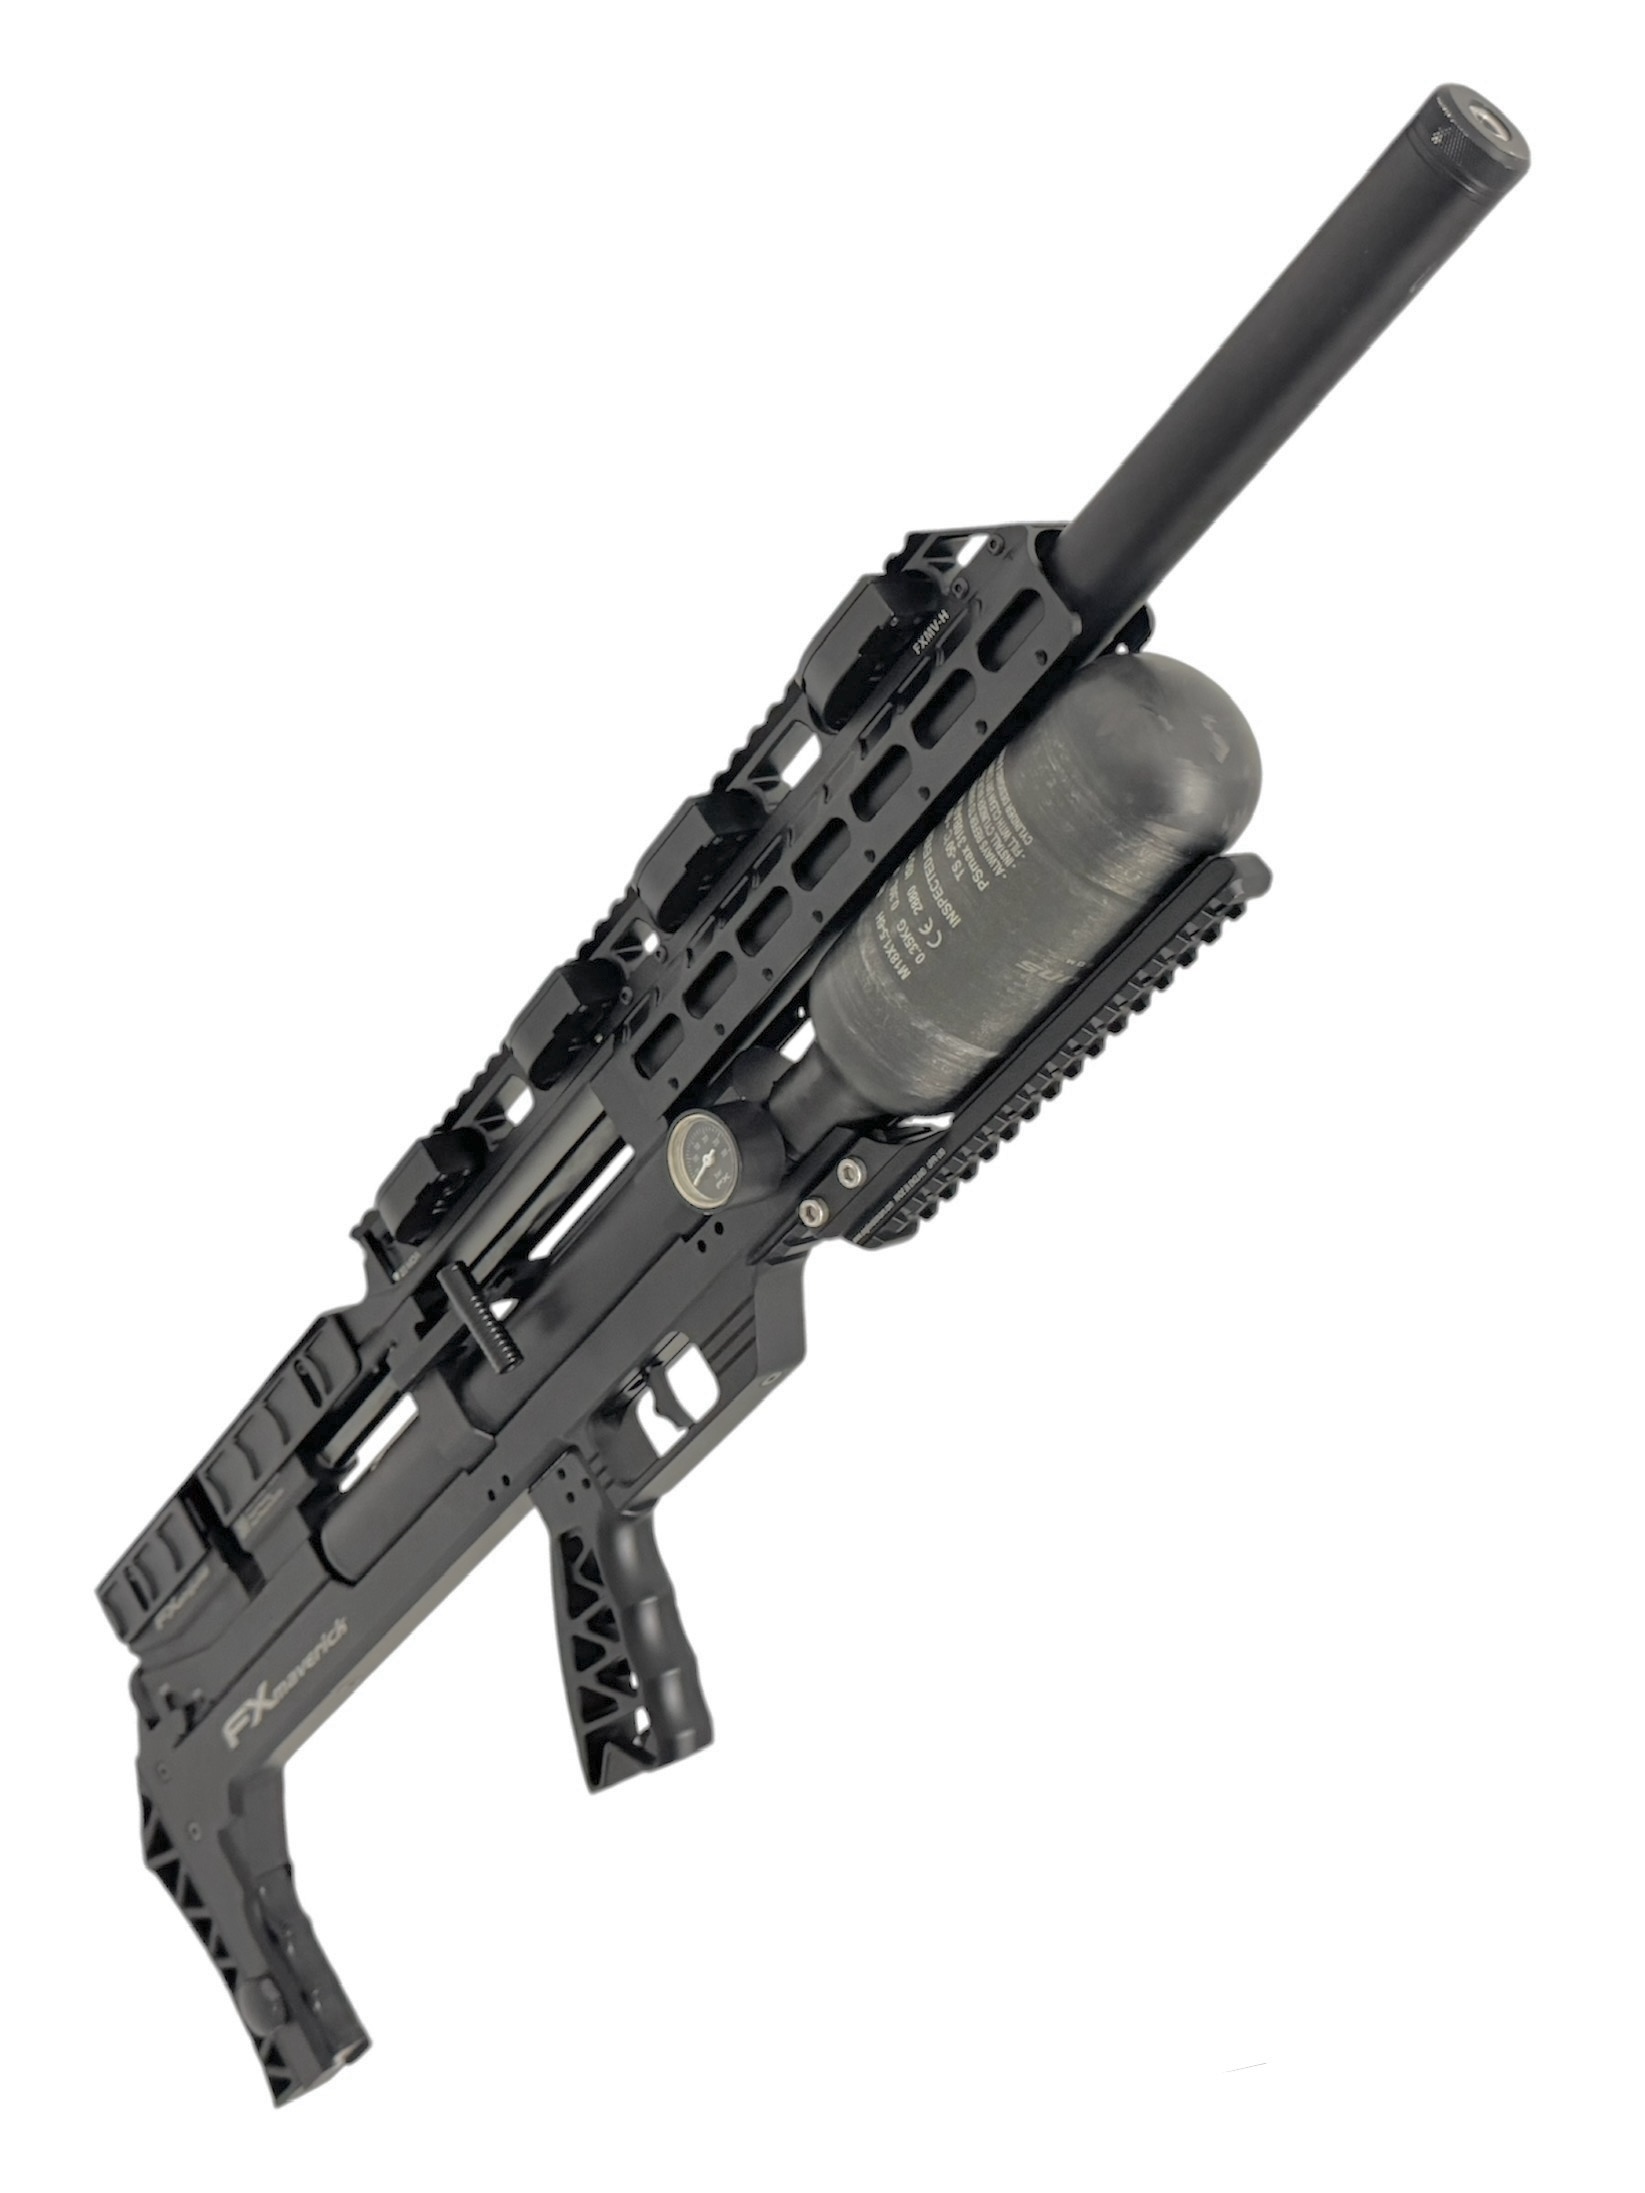
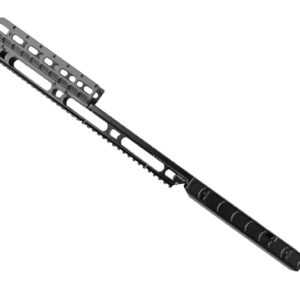
FX MAVERICK Compact TRS Top Rail
£220.00 20% VAT apply to UK Customers only, at check out
In stock
PRODUCT DESCRIPTION
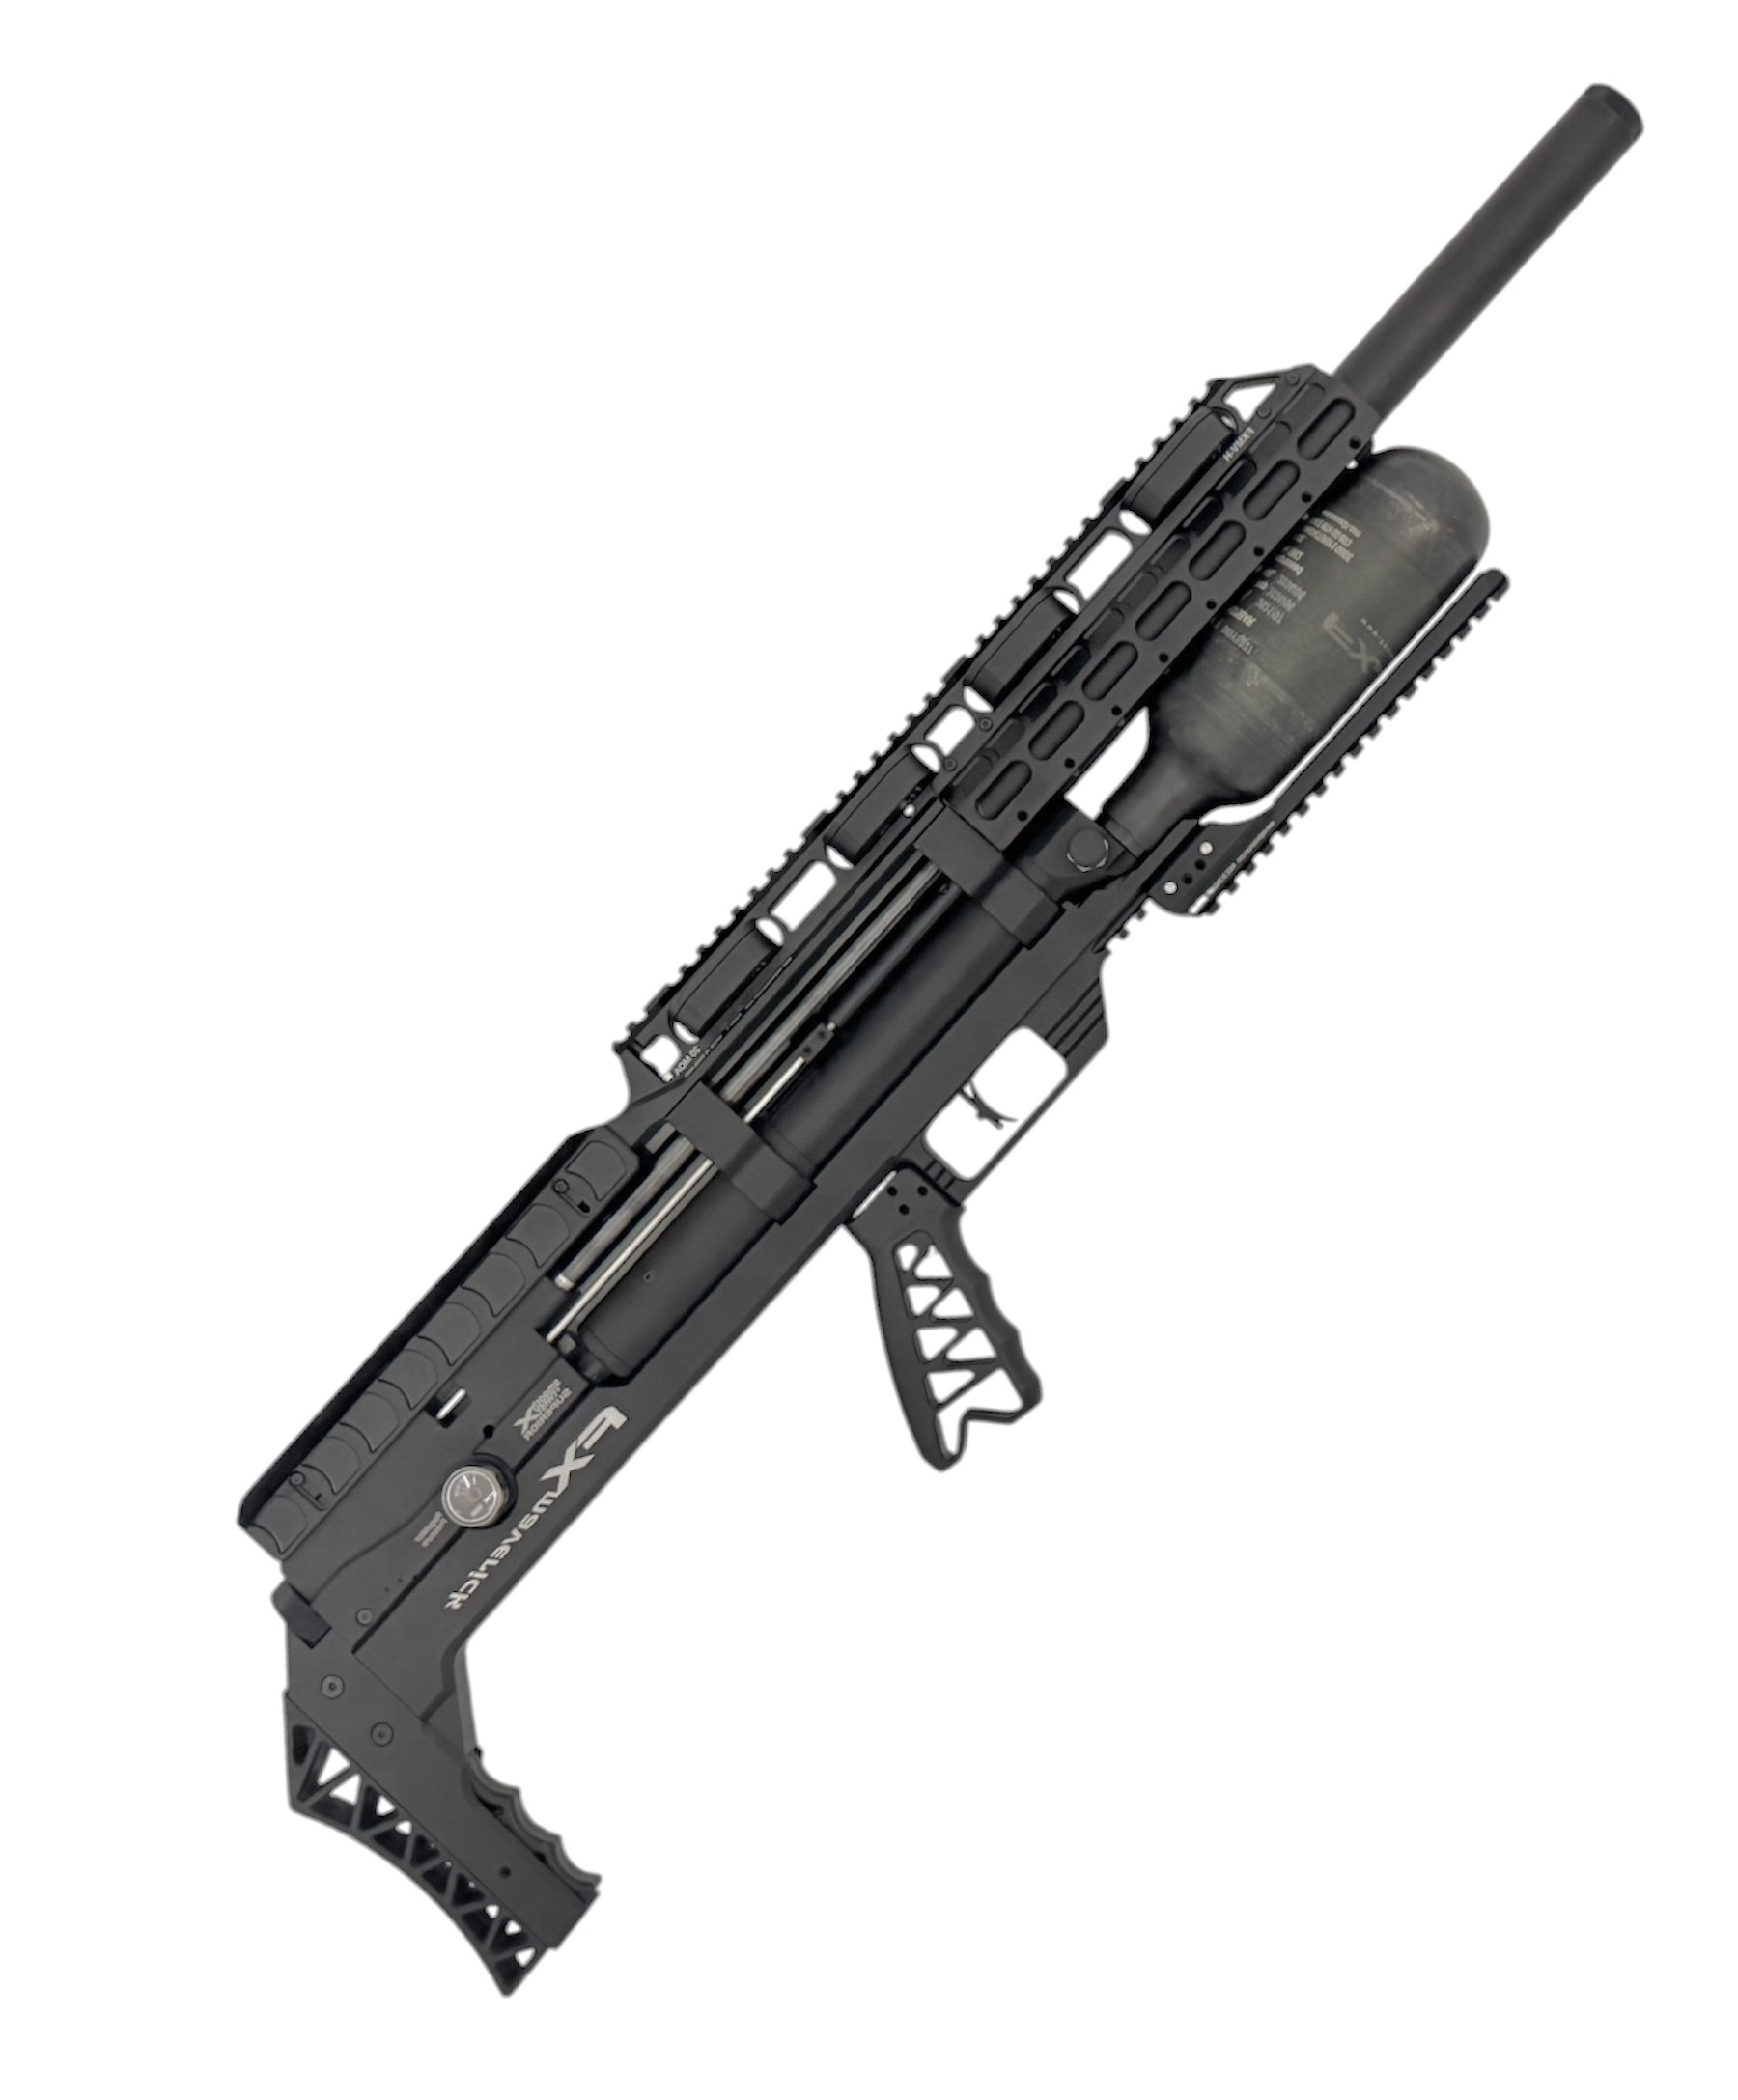
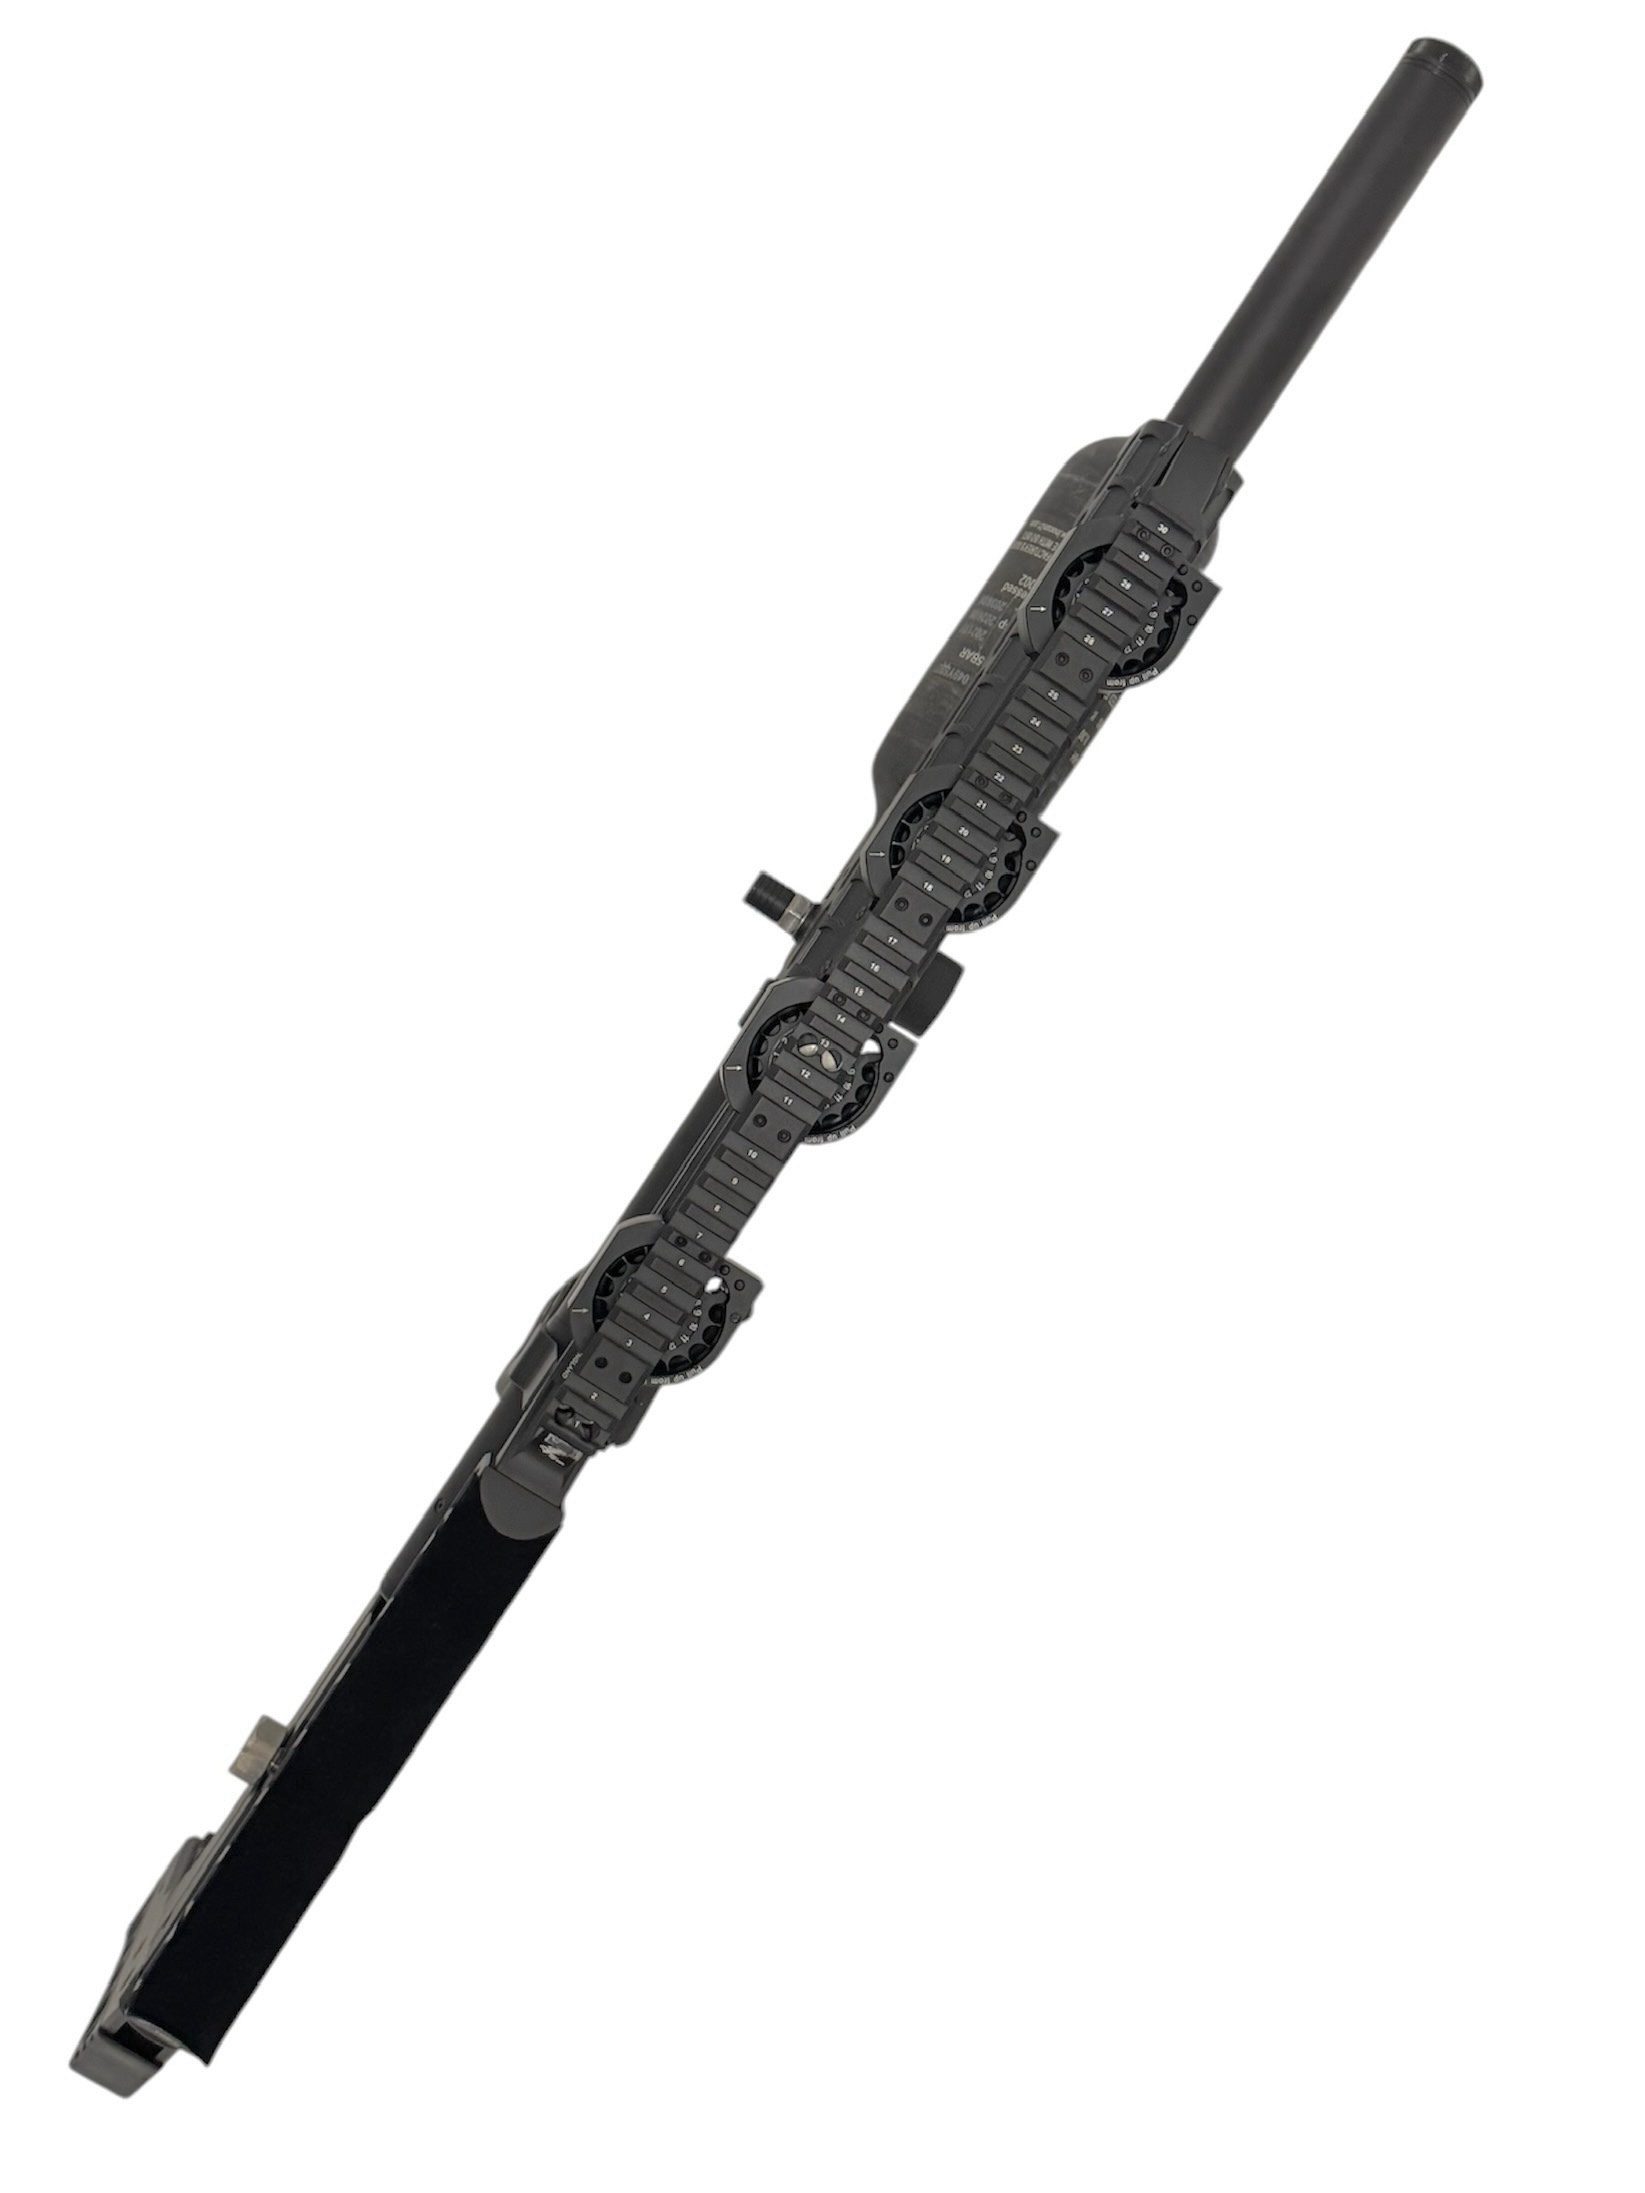
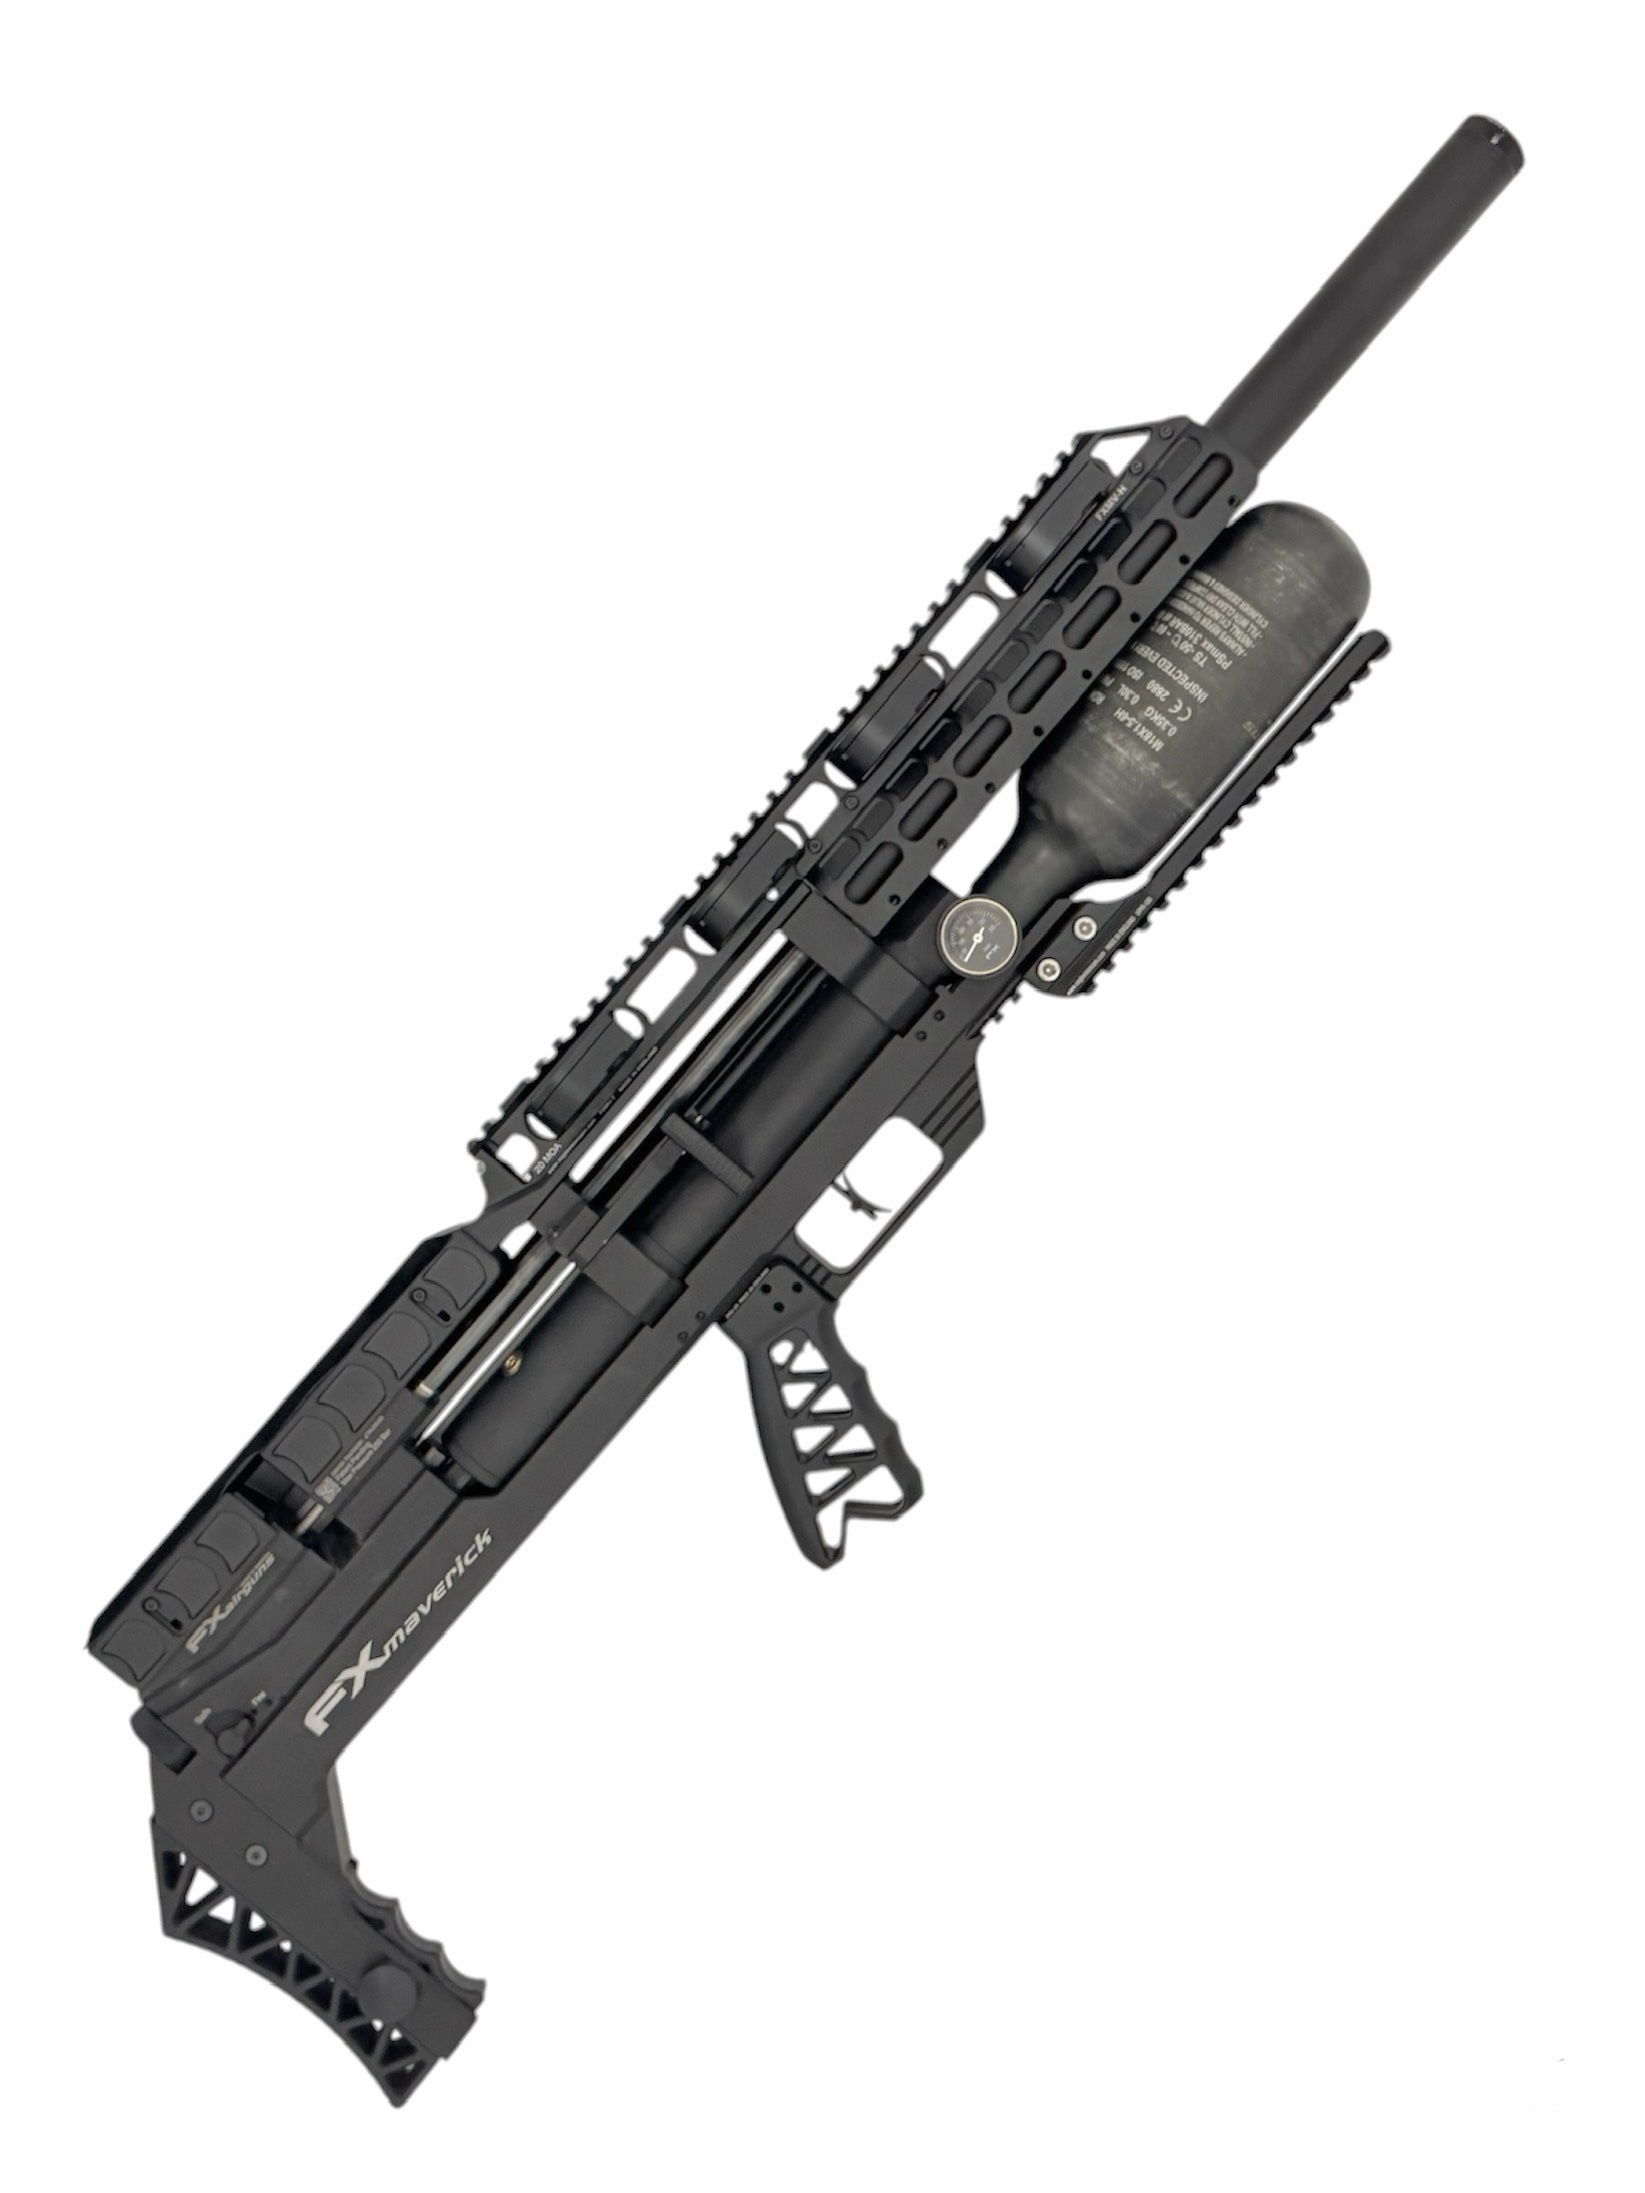
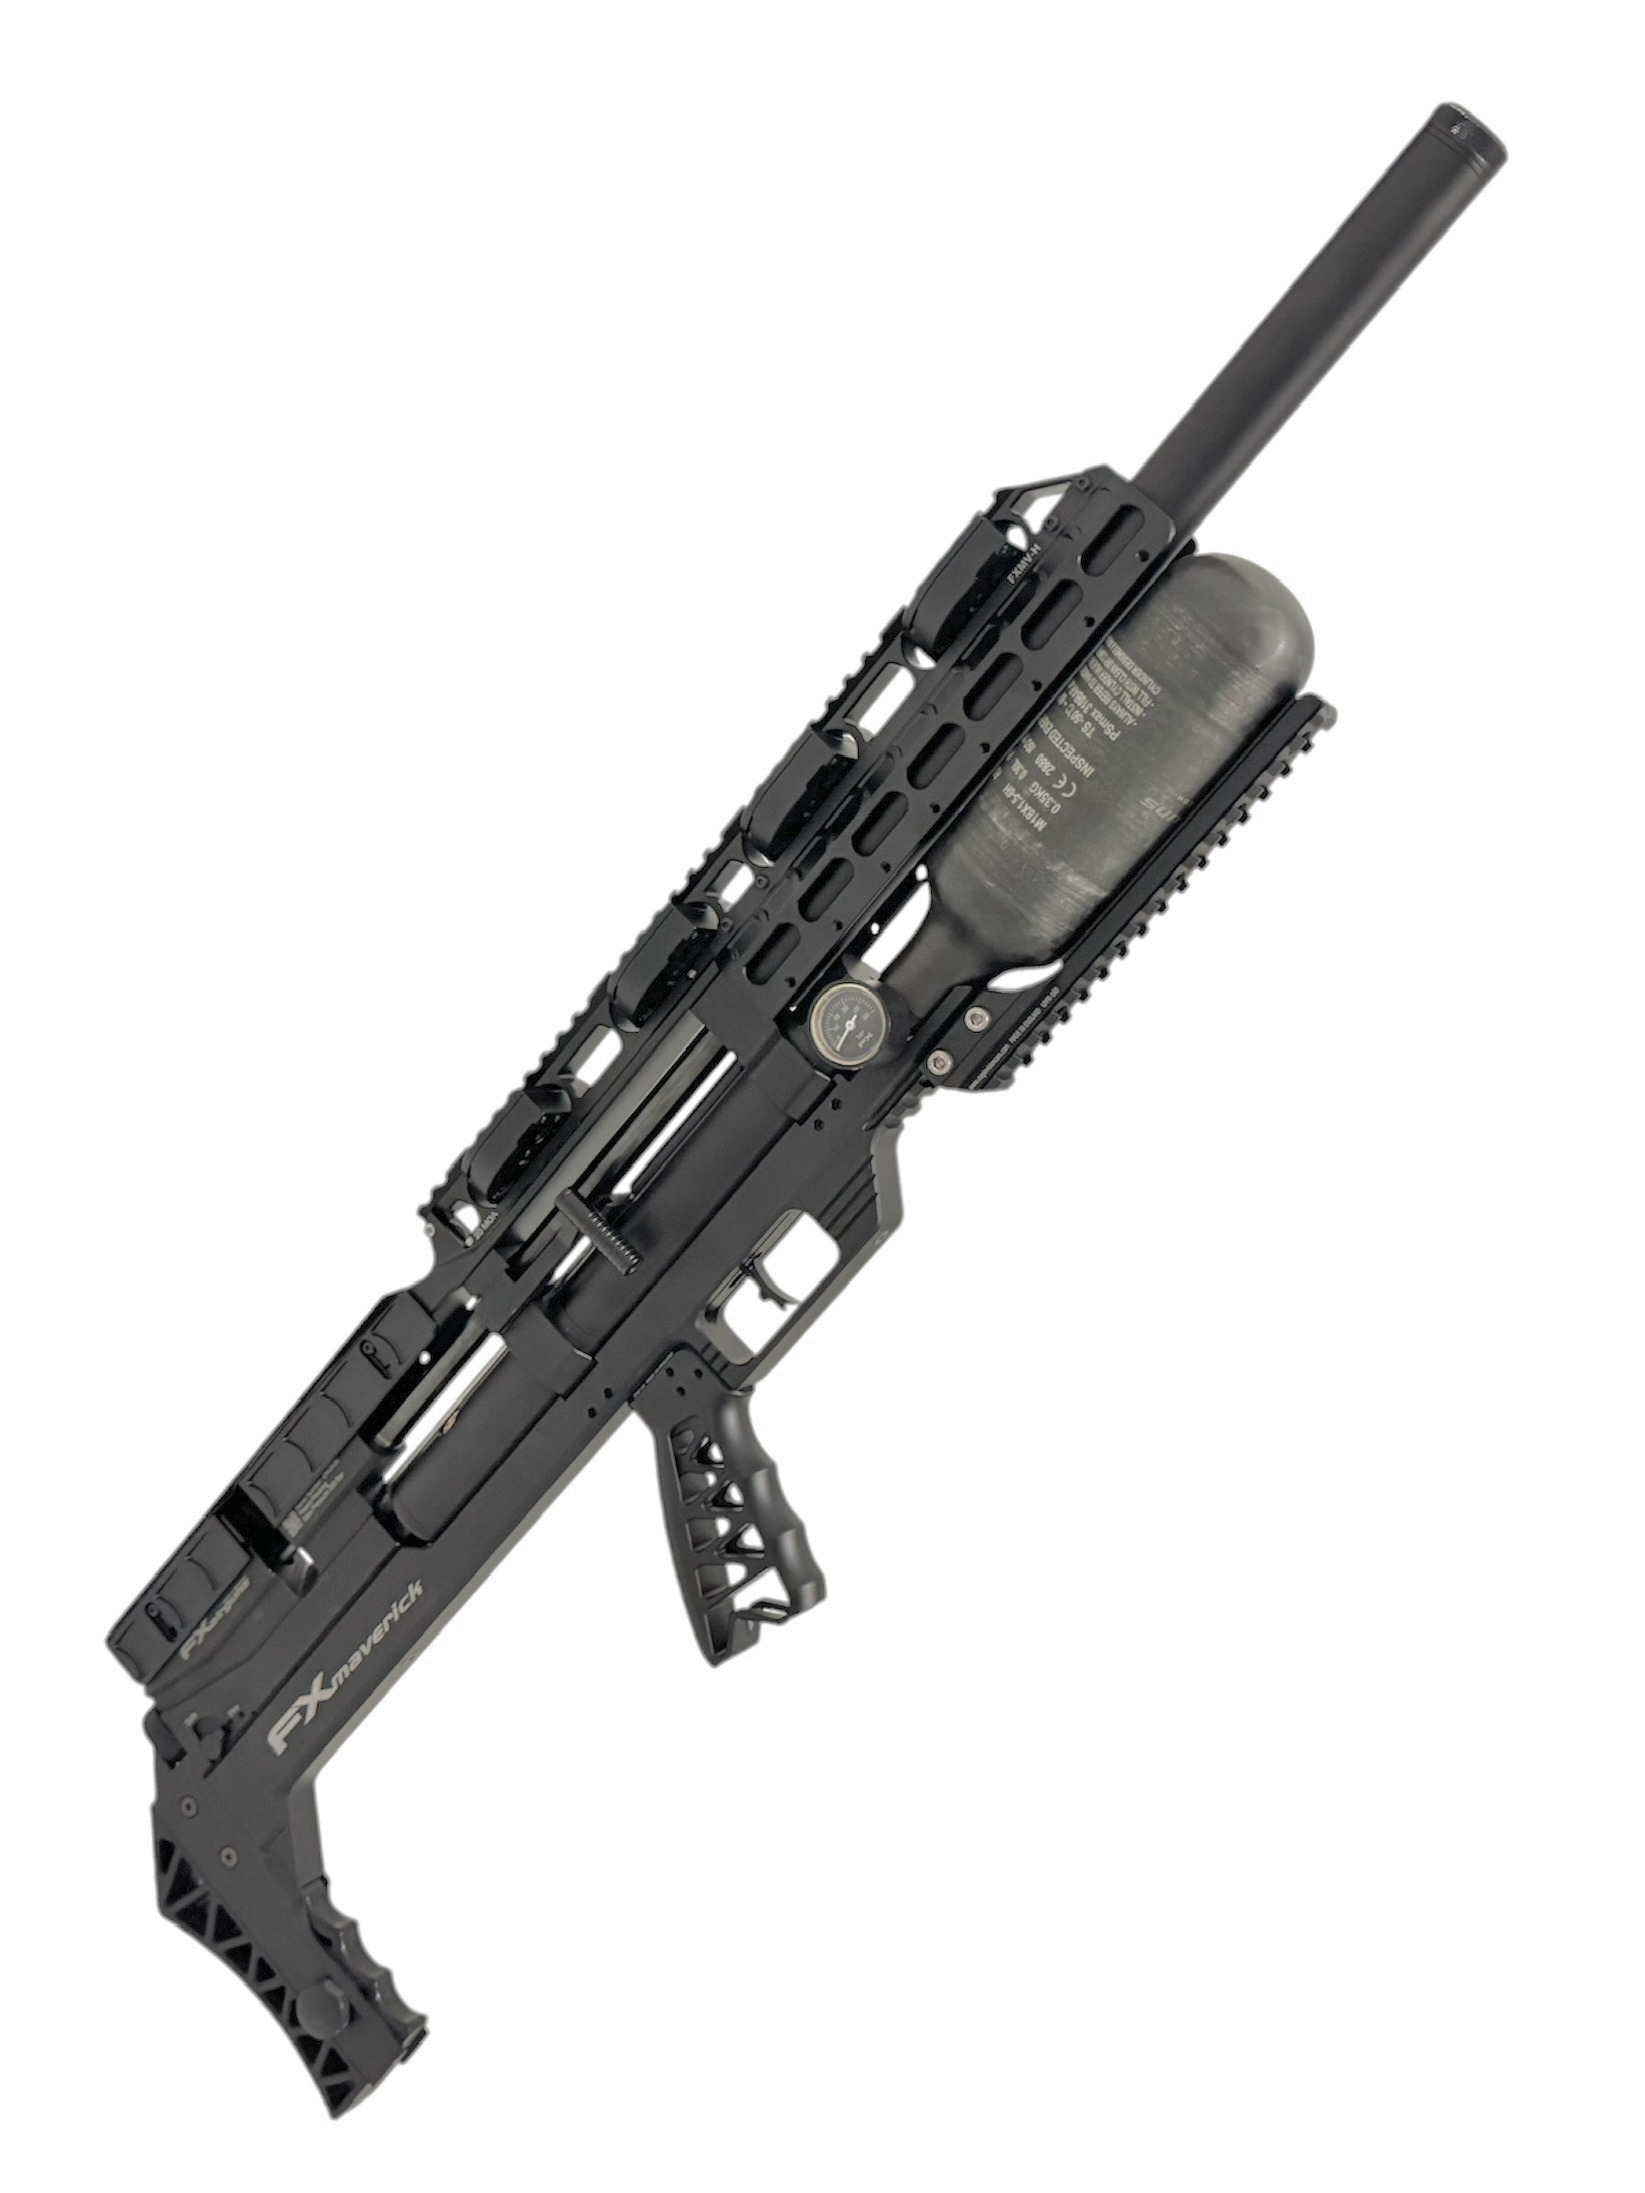
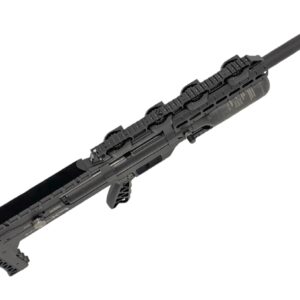
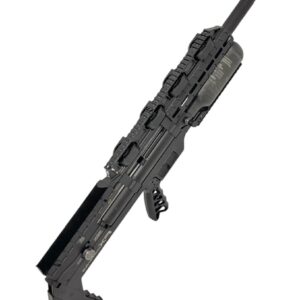
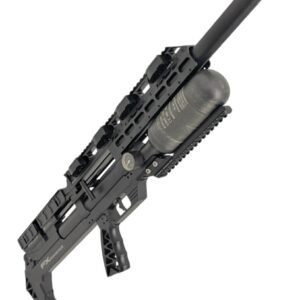
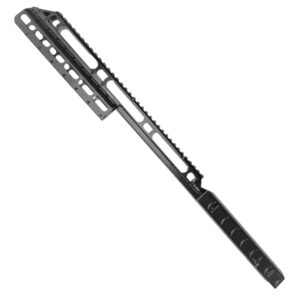
The FX MAVERICK Top Rail is the ultimate upgrade for airgun enthusiasts who want to elevate their rifle’s performance and customization options. Crafted from premium-quality aluminium, this precision-engineered rail provides exceptional durability and stability, offering a solid foundation for your shooting setup. Built for serious shooters, it offers maximum adaptability, allowing you to tailor your rifle to suit your needs and enhance your shooting experience.
Key Features:
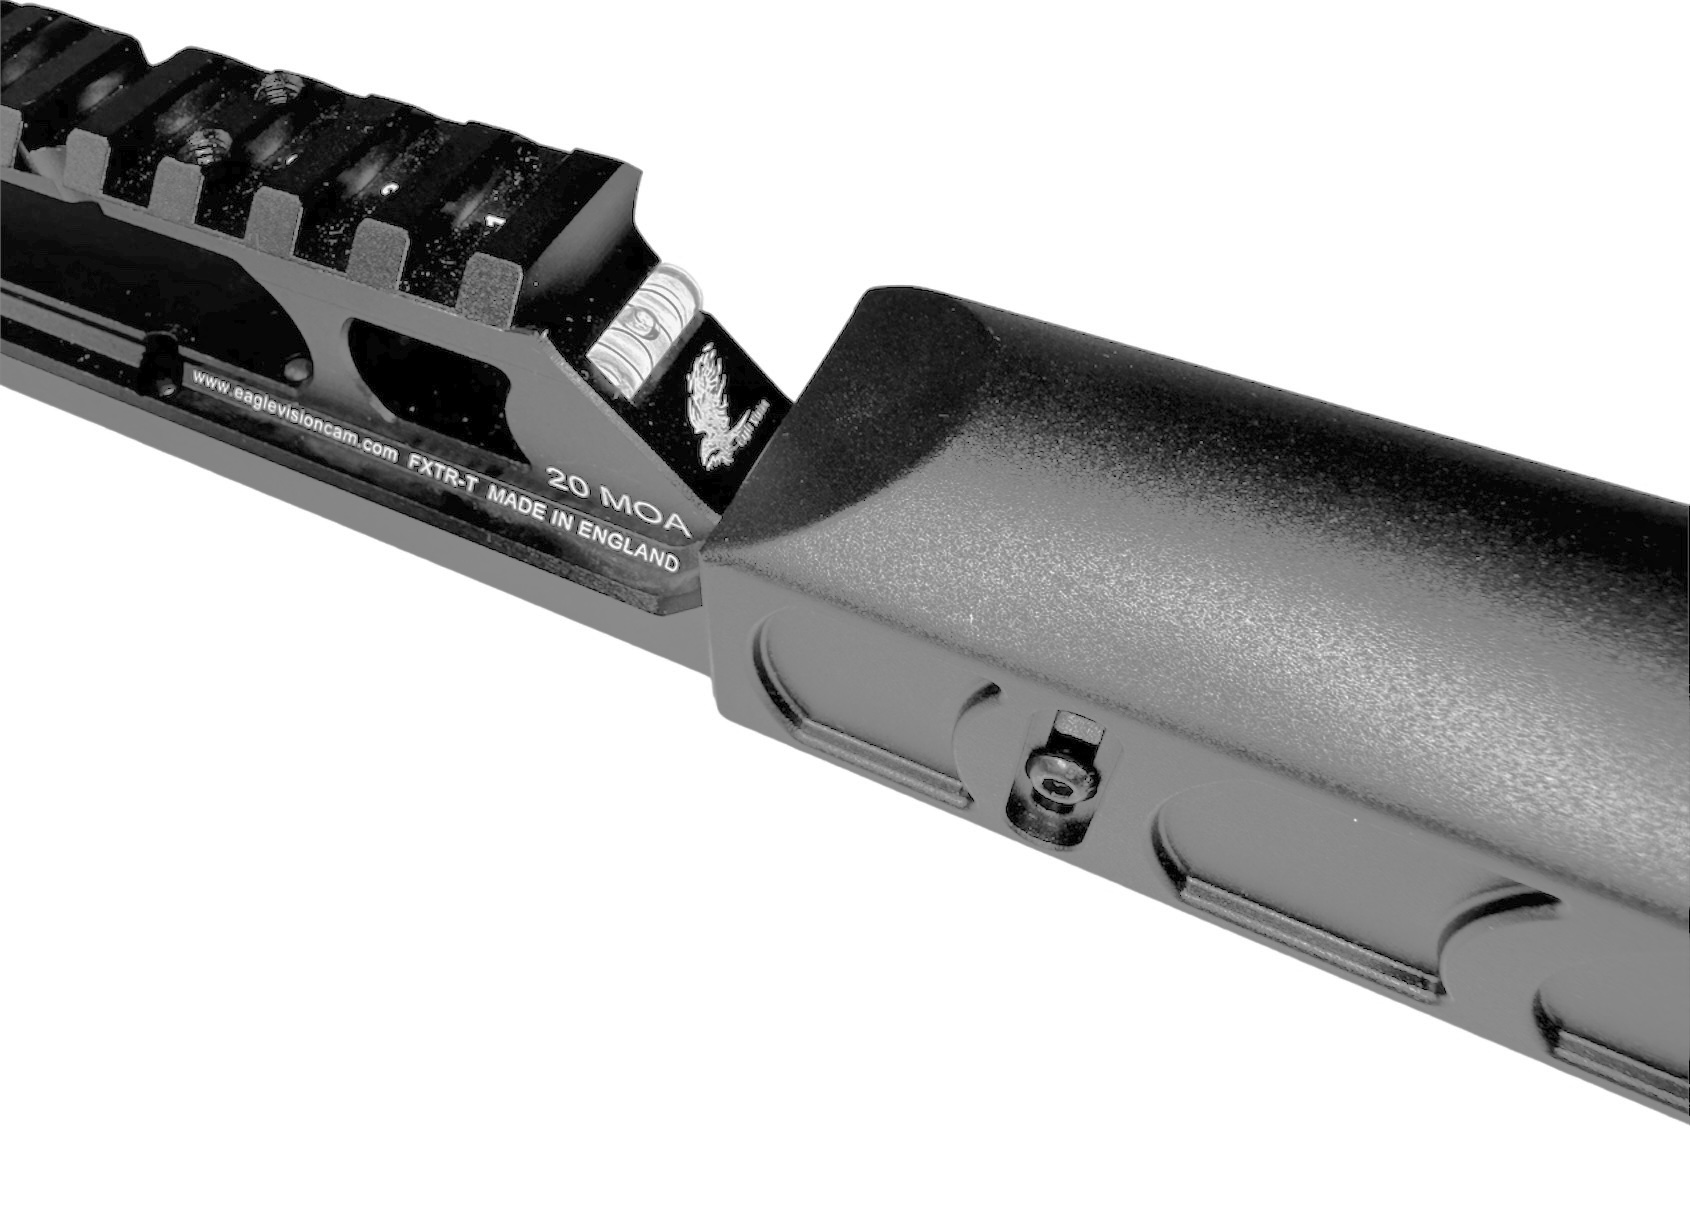
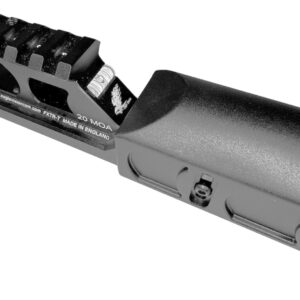
- 20 MOA Built-in: Improves accuracy for long-range shooting by compensating for bullet drop, ensuring better precision at extended distances.
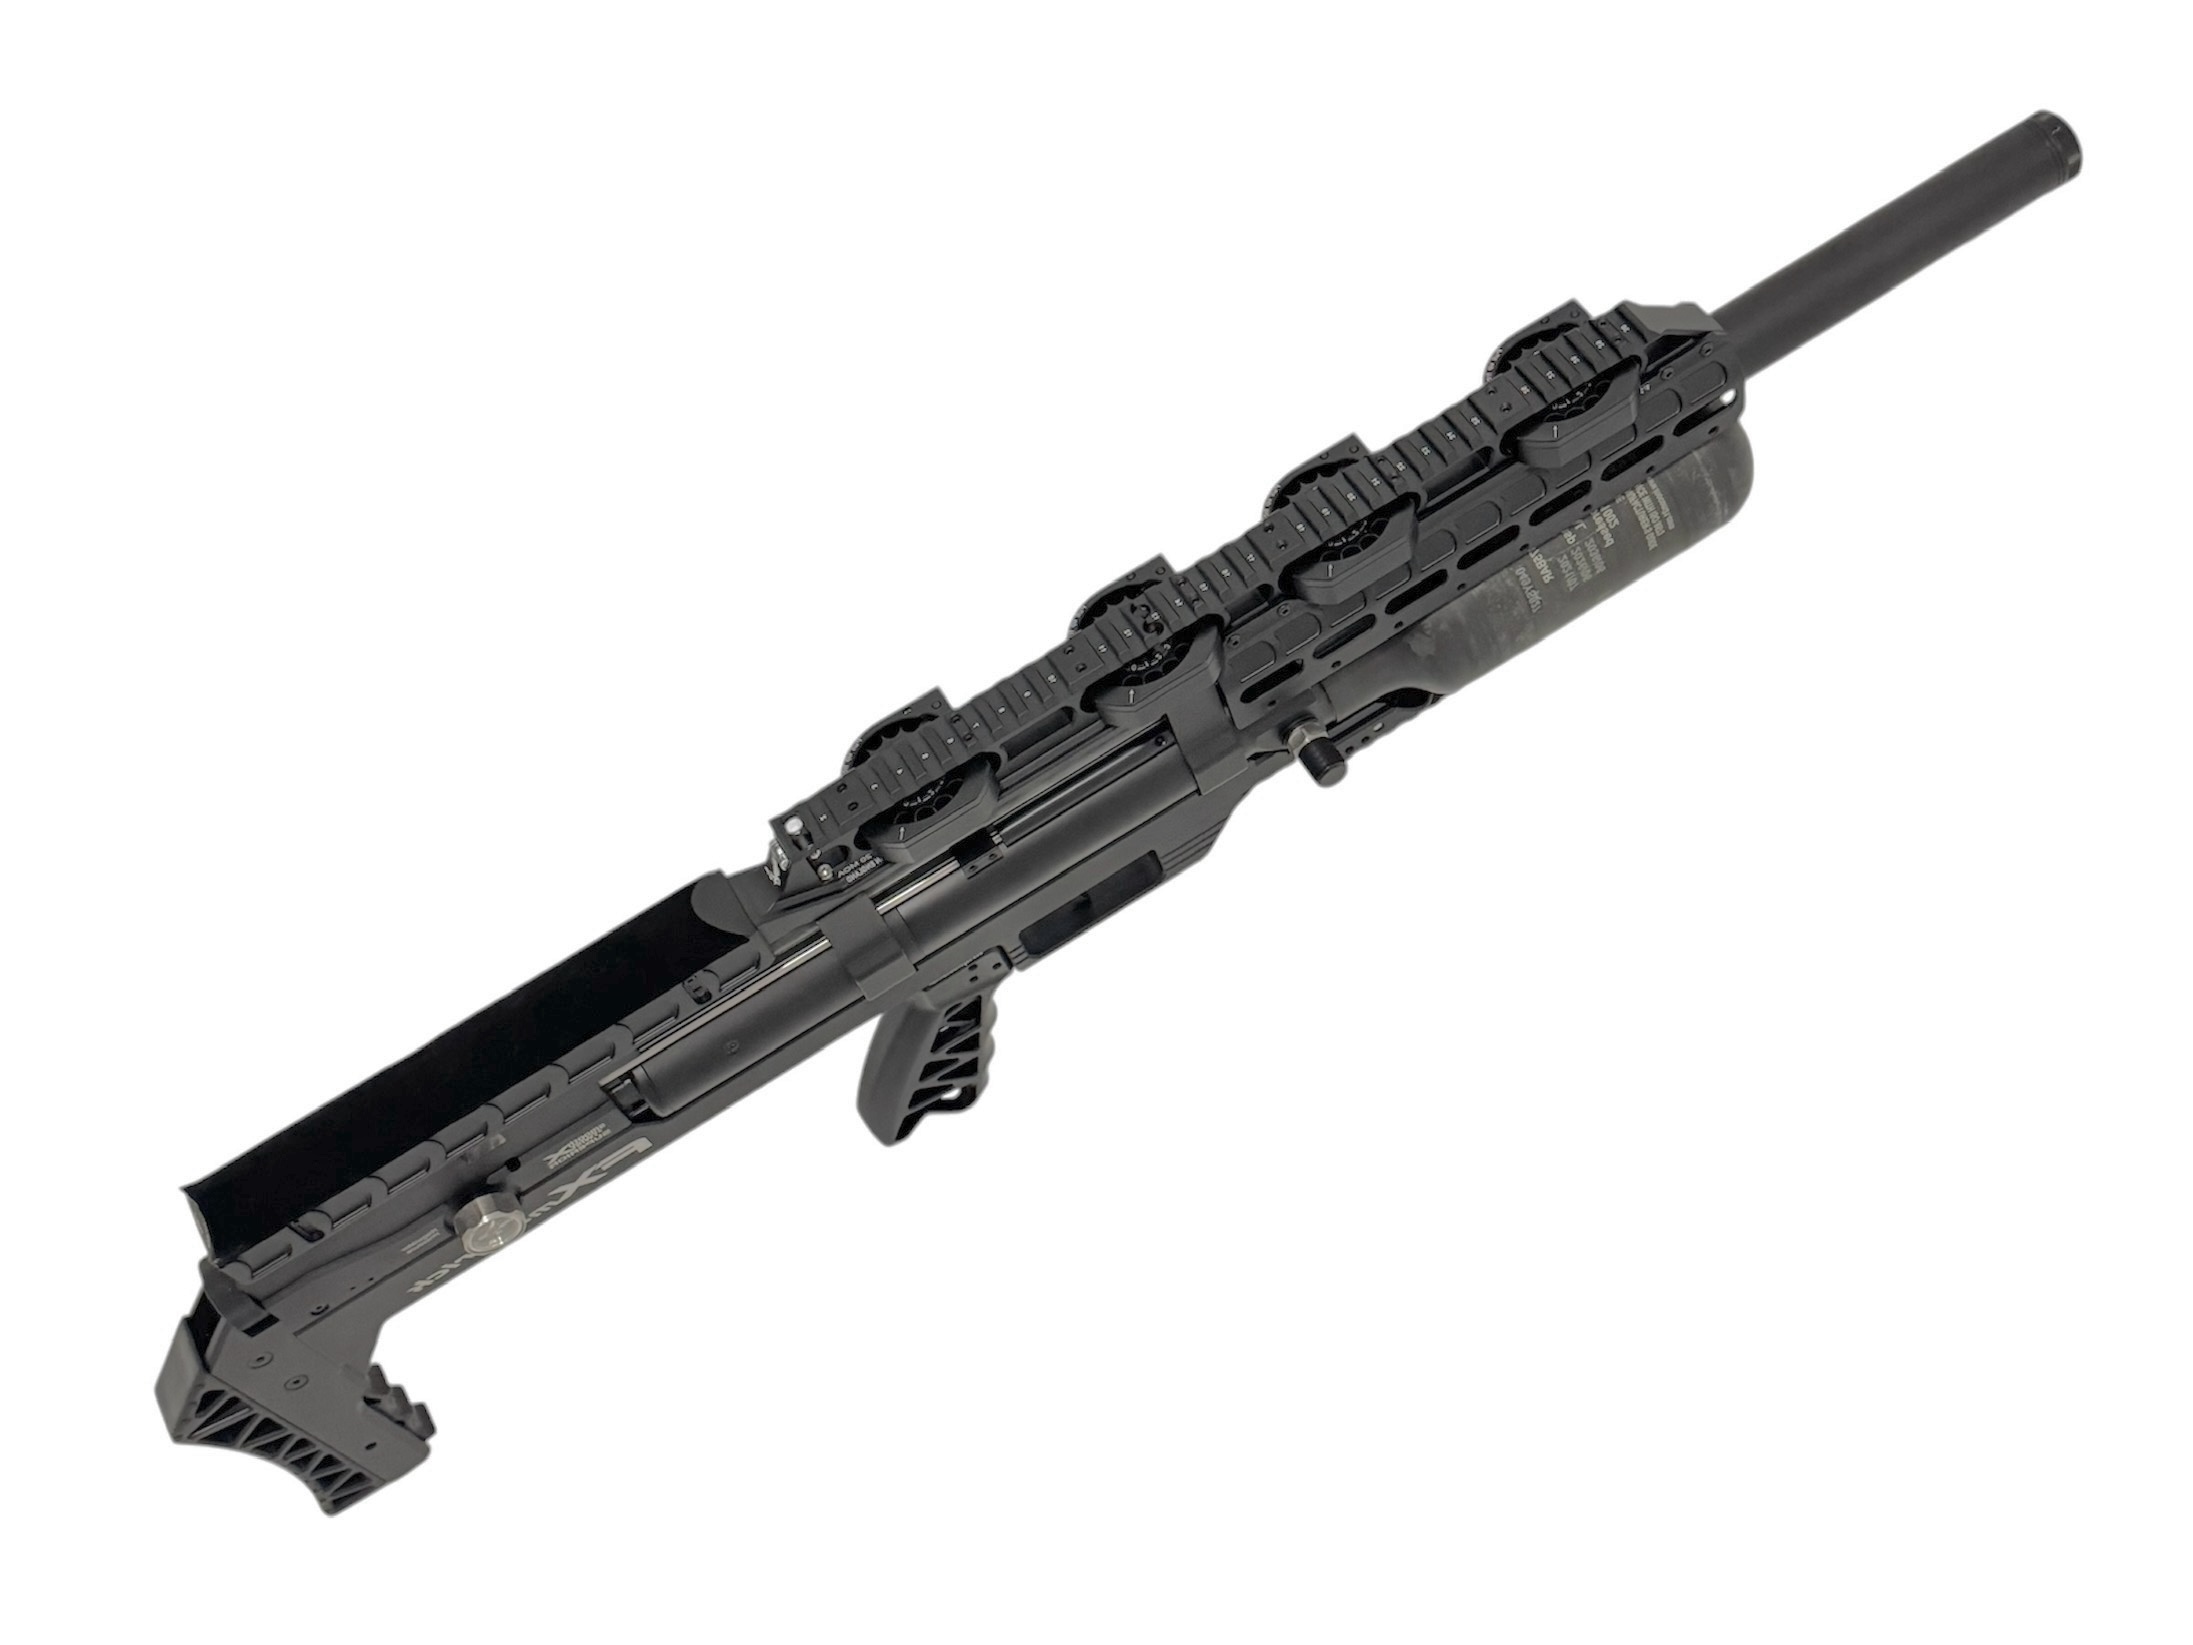
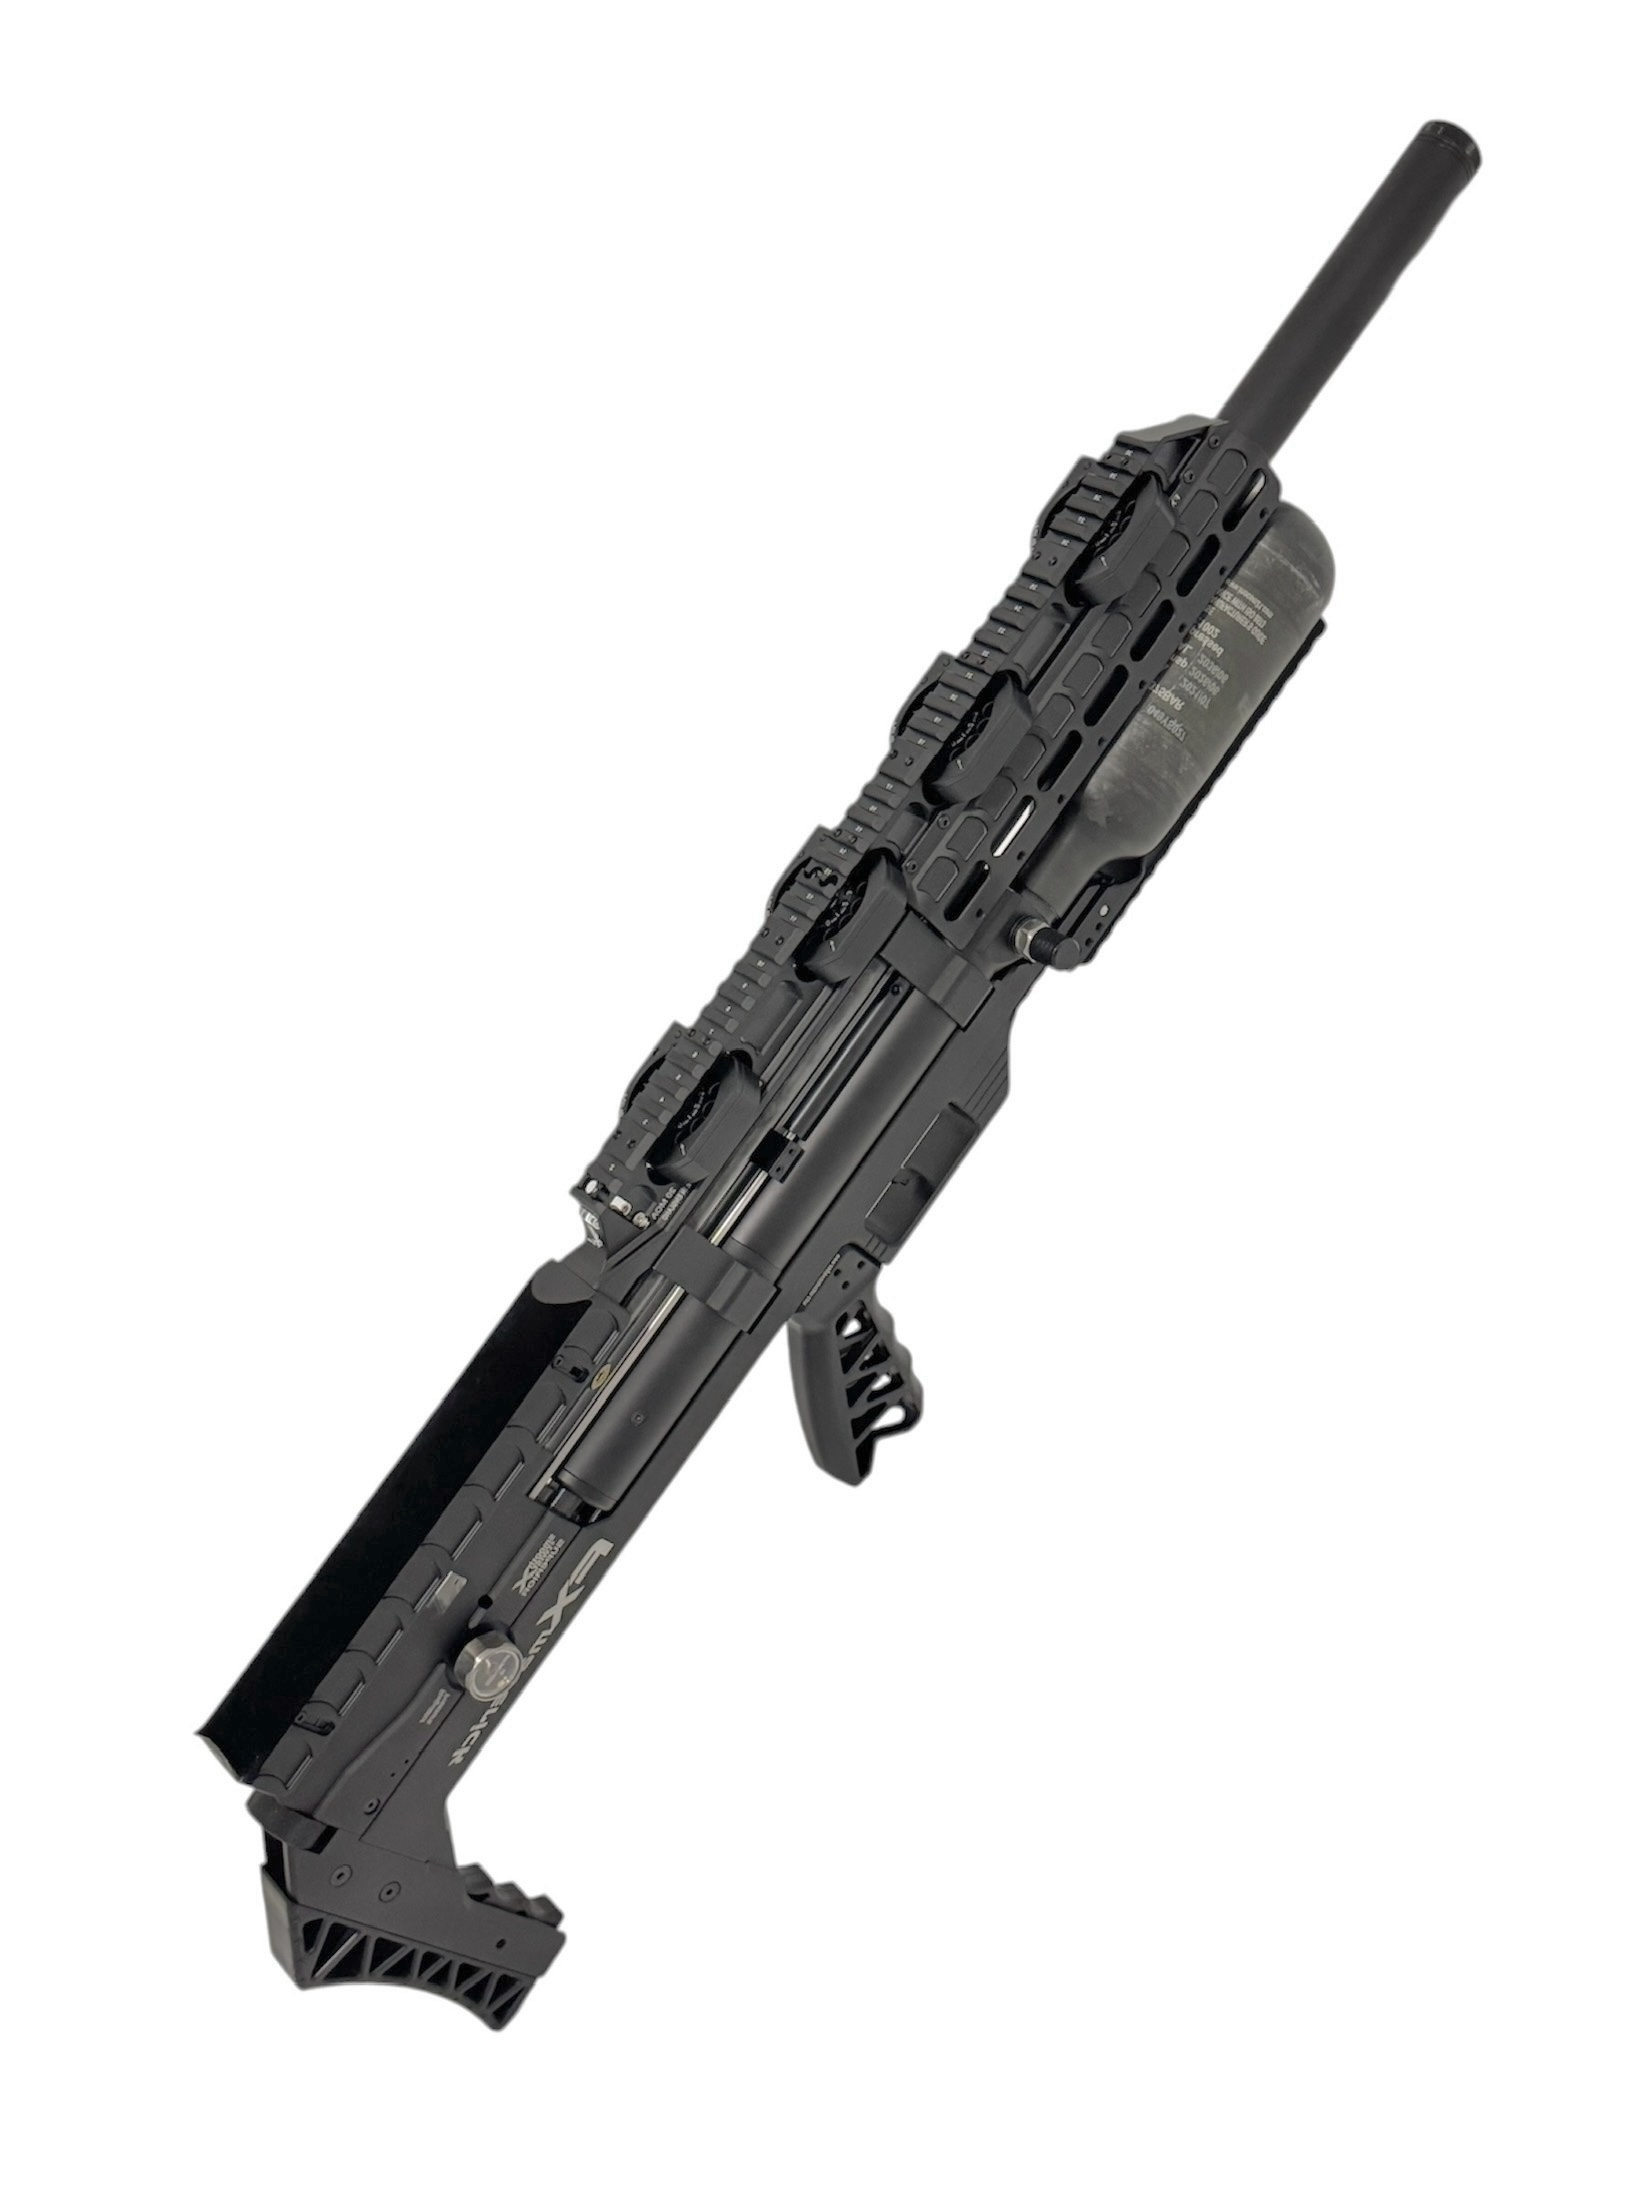
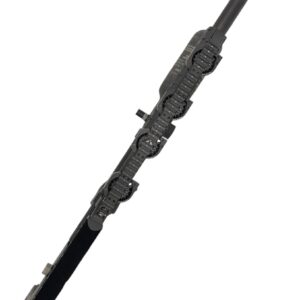
- 4 Built-in Magazine Holders: Custom-designed holders (for our magazines, not FX) offer convenient storage during your shooting sessions.
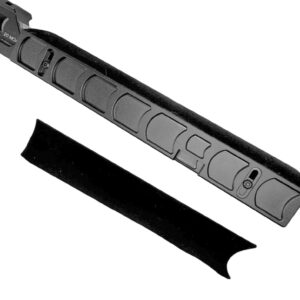
- Removable Handguard: Provides flexibility for your setup, allowing you to adapt to different shooting styles and preferences.
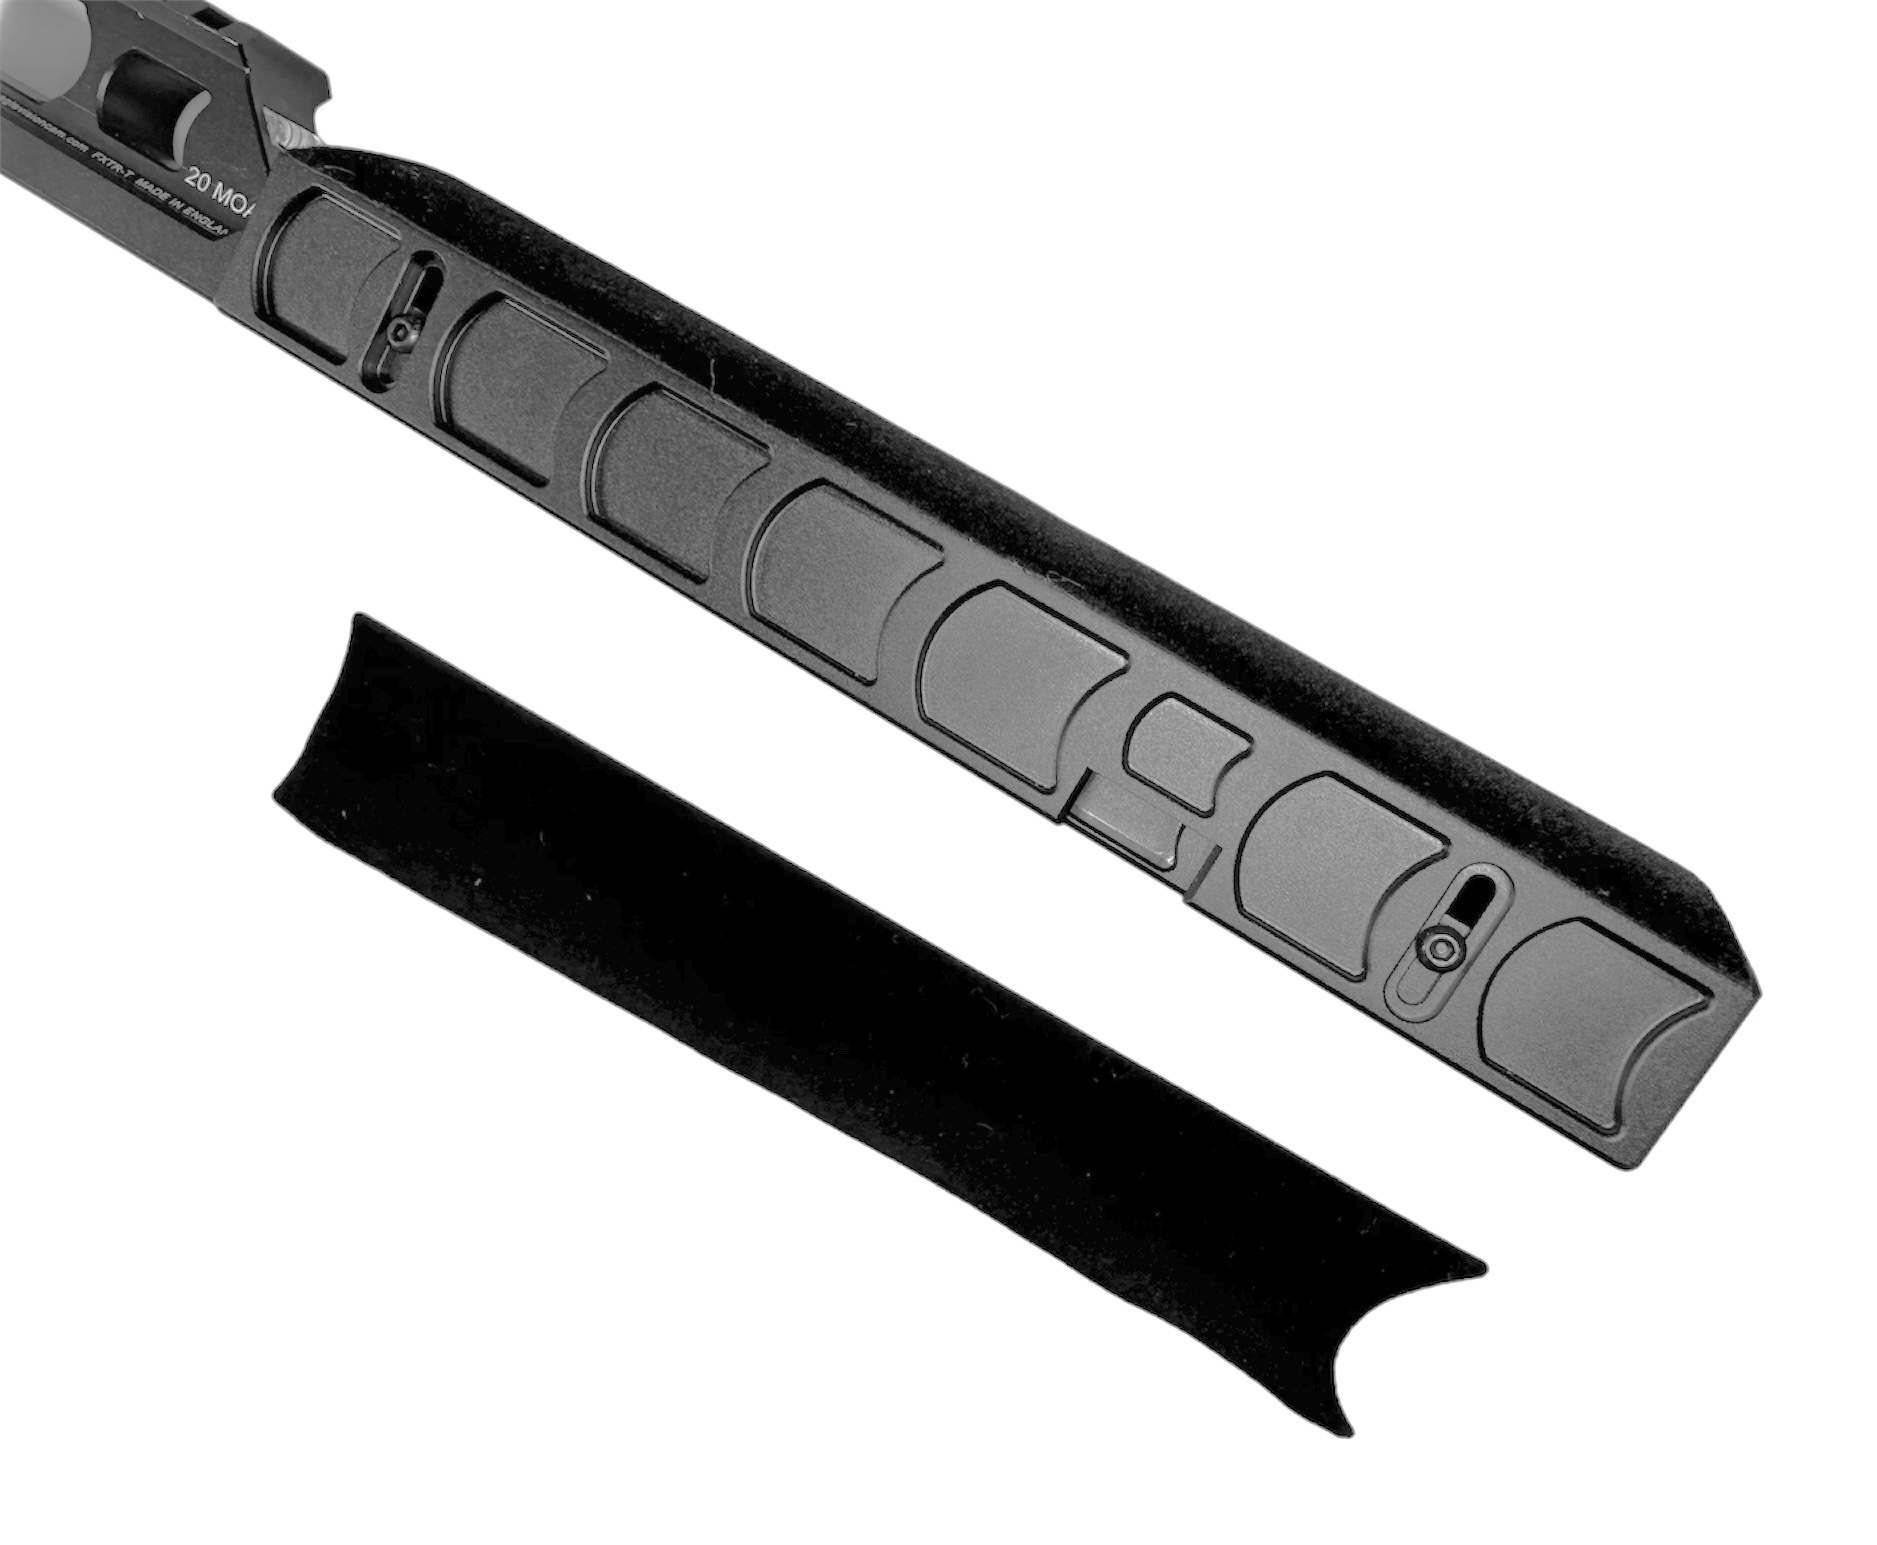
- Adjustable Cheek Piece: Ensures a comfortable, customized fit for improved shooting posture and accuracy.
- Built-in Bubble Level: Helps maintain proper rifle alignment, crucial for consistency and precision in shooting.
- Durable Construction: Made from high-quality aluminium with an anodized black coating, ensuring long-lasting durability and resistance to wear and tear.
- Lightweight Design: Weighs g, with an added g after swapping original parts, enhancing stability without compromising portability. Total length: mm.
- Precise Fit: Designed for the FX MAVERICK Compact (both standard and long models) and FX MAVERICK, ensuring a secure and reliable connection.
- Easy Installation: Includes all necessary tools for installation and uses existing screw holes for a quick, hassle-free setup.
Kit Includes:
- 1x FX MAVERICK Compact Long Rail (FXWV-T)
- 1x Handguard (FXMV-H)
- 1x Cheek Piece (FXTR-C)
- 2x Adhesive Cheek Pieces (soft fabric)
- 1x Extra Rubber Ball
- Set of Allen Keys
- Extra Spare Screws and Rubber Balls (for replacement and long-term use)
Pressure Calculation:
- Maximum Screw Torque: 15-20 inch-pounds of force (1.68-2.25 Nm Newton Meters).
Installation Safety:
- Air Bottle Removal: Make sure the air bottle is removed and completely emptied of air before starting the installation process to avoid accidents.
- Unboxing and Tool Preparation:
- Ensure that all necessary tools are included in the kit. The kit should have everything needed for removing the original rail and installing the new replacement rail.
- Removing the Original Rail:
- Cheek Rest Removal: Begin by removing the cheek rest. This is done by unscrewing the 2x M5 hex screws located at the back of the cheek rest.
- Picatinny Rail Removal: Next, unscrew the 4x M3 screws that secure the original Picatinny rail to the rifle. Once these are removed, the original rail will come off.
- Mounting the Replacement Rail:
- Position the New Rail: Take the new replacement top rail and align it with the existing screw holes on your FX Impact rifle.
- Securing the Rail: Using the supplied screws, position and secure the new rail in place. Make sure it is seated properly and aligns with the screw holes before tightening.
- Applying Grease to the Rubber Balls:
- Grease Application: Before installation, apply a small amount of grease to the top surface of the rubber balls. This ensures they remain securely attached during use, preventing them from coming off and ensuring a stable fit once the rail is mounted.
- Grease Application: Before installation, apply a small amount of grease to the top surface of the rubber balls. This ensures they remain securely attached during use, preventing them from coming off and ensuring a stable fit once the rail is mounted.
- Magazine Holder Adjustment:
- Adjusting Rubber Balls: The rubber balls on the magazine holder should be adjusted to avoid interference with the magazine. Tighten or loosen the M4 screws located at the top of the rail to adjust the tension.
- Testing Fit: Slide the magazine in and test the fit. Proper adjustment will allow the magazine to slide in smoothly without scratching or causing any issues.
- Final Check:Securing Components: Once the rail is securely mounted and the rubber balls are adjusted, conduct a final check.
- Verify Fitment: Ensure that the rail is tightly secured, the magazine fits properly, and there are no loose components.
- Functionality Check: Verify the functionality of the setup by inserting and removing the magazine several times to ensure smooth operation.
Your new replacement rail should now be installed successfully, enhancing both the stability and functionality of your FX MAVERICK rifle. Enjoy your upgraded shooting experience!
Note:
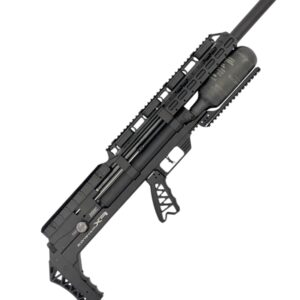
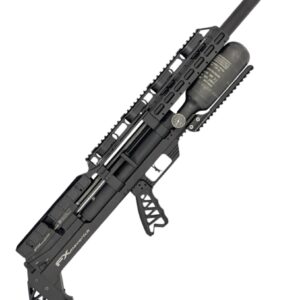
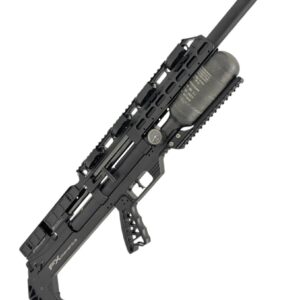
- Rifle and magazine are not included in the kit (shown for display purposes only).
- The last 7 pictures are for illustration purposes only, showing how the rifle will appear after installation.
| Choose Quantity and Size | 1 X 177 4.5MM, 2 X 177 4.5MM, 3 X 177 4.5MM, 4 X 177 4.5MM, 1 X 22 5.5MM, 2 X 22 5.5 MM, 3 X 22 5.5 MM, 4 X 22 5.5MM, 1 X 25 6.35MM, 2 X 25 6.35MM, 3 X 25 6.35MM, 4 X 25 6.35MM |
|---|
Be the first to review “FX MAVERICK Compact TRS Top Rail” Cancel reply
You must be logged in to post a review.




 WhatsApp us
Reviews
There are no reviews yet.